Lesson-2
In this chapter, we will learn the basics of working with text so you can type, reorganize, and edit text. Basic tasks include the ability to add, delete, and move text.
Using the insertion point to add text:
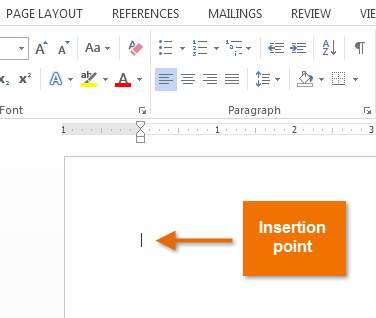
The insertion point is the blinking vertical line in your document. It indicates where you can enter text on the page. You can use the insertion point in a variety of ways:
- Blank document: When a new blank document opens, the insertion point is located in the top-left corner of the page. If you want, you can begin typing from this location.
- Adding spaces: Press the spacebar to add spaces after a word or in between text.

- New paragraph line: Press Enter on your keyboard to move the insertion point to the next paragraph line.

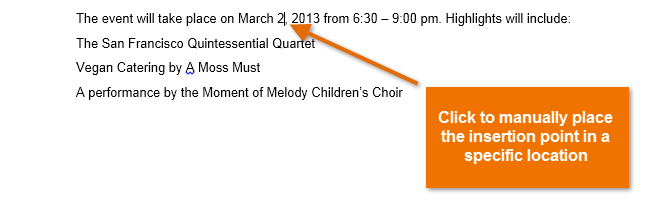
- Manual placement: After you’ve started typing, you can use the mouse to move the insertion point to a specific place in your document. Simply click the location in the text where you want to place it.
In a new blank document, you can double-click the mouse to move the insertion point elsewhere on the page.
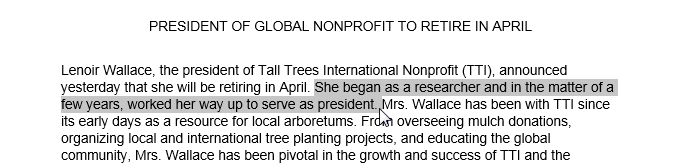
To select text:
Before applying formatting to text, you’ll first need to select it.
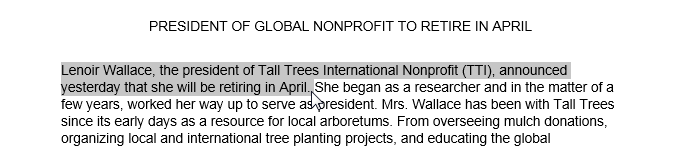
- Place the insertion point next to the text you want to select.
- Click the mouse, and while holding it down drag your mouse over the text to select it.
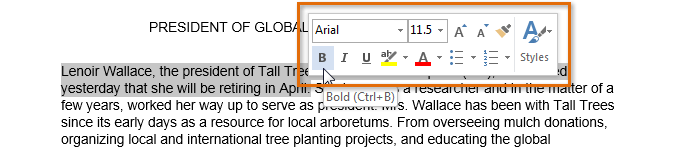
- Release the mouse button. You have selected the text. A highlighted box will appear over the selected text.
When you select text or images in Word, a hover toolbar with command shortcuts appears. If the toolbar does not appear at first, try moving the mouse over the selection.
Other shortcuts include double-clicking a word to select it and triple-clicking to select a sentence or paragraph. You can also select all of the text in the document by pressing Ctrl+A on your keyboard.
To delete text:
There are several ways to delete—or remove—text:
- To delete text to the left of the insertion point, press the Backspace key on your keyboard.
- To delete text to the right of the insertion point, press the Delete key on your keyboard.
- Select the text you want to remove, then press the Delete key.
If you select text and start typing, the selected text will automatically be deleted and replaced with the new text.
Copying and moving text
Word allows you to copy text that is already in your document and paste it to other areas of the document, which can save you time. If there is text you want to move from one area of the document to another, you can cut and paste or drag and drop the text.
To copy and paste text:
Copying text creates a duplicate of the text.
- Select the text you want to copy.

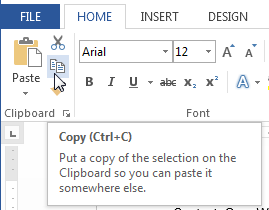
- Click the Copy command on the Home tab. You can also right-click the selected text and select Copy.
- Place the insertion point where you want the text to appear.

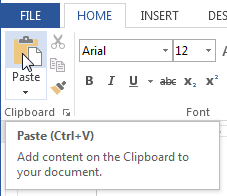
- Click the Paste command on the Home tab.
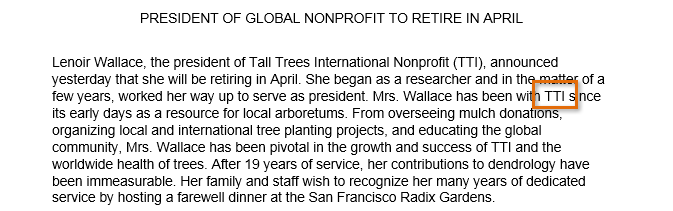
- The text will appear.
To cut and paste text:
- Select the text you want to cut.
- Click the Cut command on the Home tab. You can also right-click the selected text and select Cut.
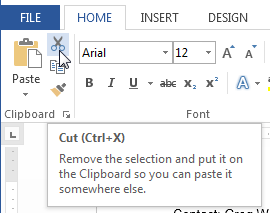
- Place your insertion point where you want the text to appear.

- Click the Paste command on the Home tab. The text will appear.

You can access the cut, copy, and paste commands by using keyboard shortcuts. Press Ctrl+X to cut, Ctrl+C to copy, and Ctrl+V to paste.
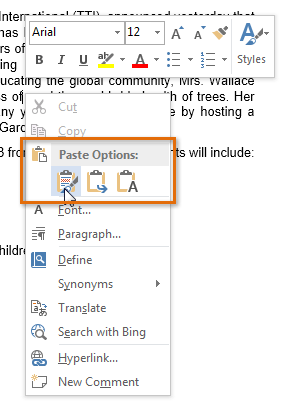
You can also cut, copy, and paste by right-clicking your document and choosing the desired action from the drop-down menu. When you use this method to paste, you can choose from three options that determine how the text will be formatted: Keep Source Formatting, Merge Formatting, and Keep Text Only. You can hover the mouse over each icon to see what it will look like before you select it.