Introduction
Saving and printing presentations
Once you’ve created your document, you may want to print it to view and share your work offline. It’s easy to preview and print a document in Word using the Print pane.
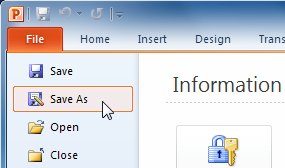
To use the Save As command:
Save As allows you to choose a name and location for your presentation. It’s useful if you’ve first created a presentation or if you want to save a different version of a presentation while keeping the original.
- Click the File tab.
- Select Save As.
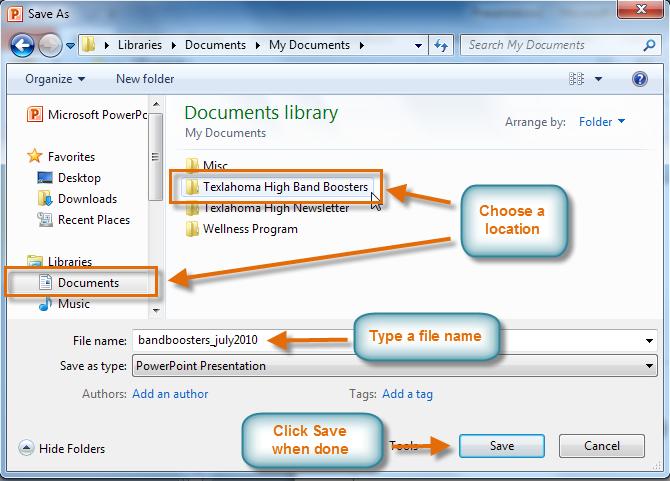
- The Save As dialog box will appear. Select the location where you want to save the presentation.
- Enter a name for the presentation, then click Save.
To use the Save command:
- Click the Save command on the Quick Access toolbar.
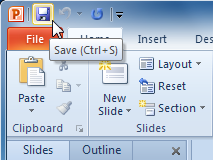
- The presentation will be saved in its current location with the same file name.
If you are saving for the first time and select Save, the Save As dialog box will appear.
AutoRecover
PowerPoint automatically saves your presentation to a temporary folder while you’re working on it. If you forget to save your changes or if PowerPoint crashes, you can recover the autosaved file.
- Open a presentation that was previously closed without saving.
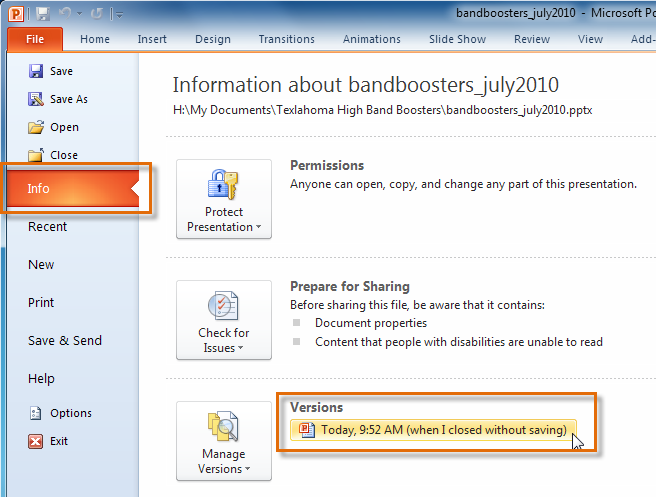
- In Backstage view, click Info.
- If there are autosaved versions of your file, they will appear under Versions. Click the file to open it.
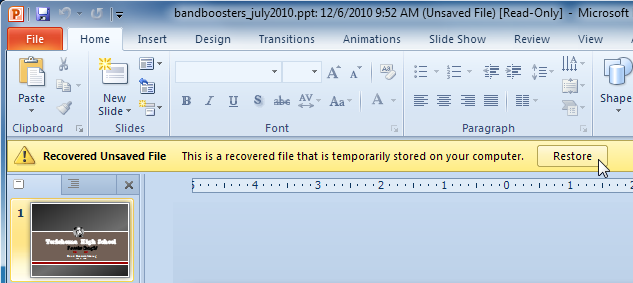
- To save changes, click Restore, then click OK.
By default, PowerPoint autosaves every 10 minutes. If you are editing a presentation for less than 10 minutes, PowerPoint may not create an autosaved version.
Other file formats
To save as a PowerPoint 97-2003 presentation:
You can share your presentation with anyone using PowerPoint 2010 or 2007 because they use the same file format. However, earlier versions of PowerPoint use a different file format, so if you want to share your presentation with someone using an earlier version of PowerPoint you’ll need to save it as a PowerPoint 97-2003 presentation.
- Click the File tab.
- Select Save As.
- In the Save as type drop-down menu, select PowerPoint 97-2003 Presentation.
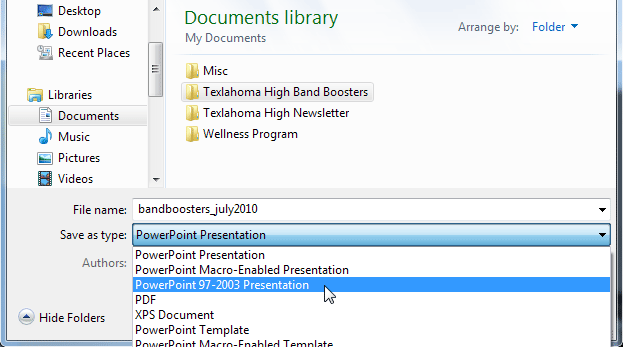
- Select the location where you want to save the presentation.
- Enter a name for the presentation, then click Save.
To save as a different file type:
If you want to share your presentation with someone who doesn’t have PowerPoint, you have several file types to choose from.
- Click the File tab.
- Select Save & Send.
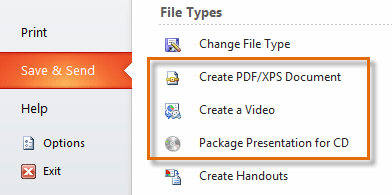
- Choose from three special File Types:
- Create PDF/XPS Document: This saves the contents of your slide show as a document instead of a PowerPoint file.
- Create a Video: This saves your presentation as a video that can be shared online, in an email, or on a disc.
- Package Presentation for CD: This saves your presentation in a folder along with the Microsoft PowerPoint Viewer, a special slide show player that anyone can download and use.
Printing
In previous versions of PowerPoint, there was a Print Preview option that allowed you to see exactly what the presentation looked like before printing it. You may have noticed that this feature seems to be gone in PowerPoint 2010. It actually hasn’t disappeared; it has just been combined with the Print window to create the Print pane, which is located in Backstage view.
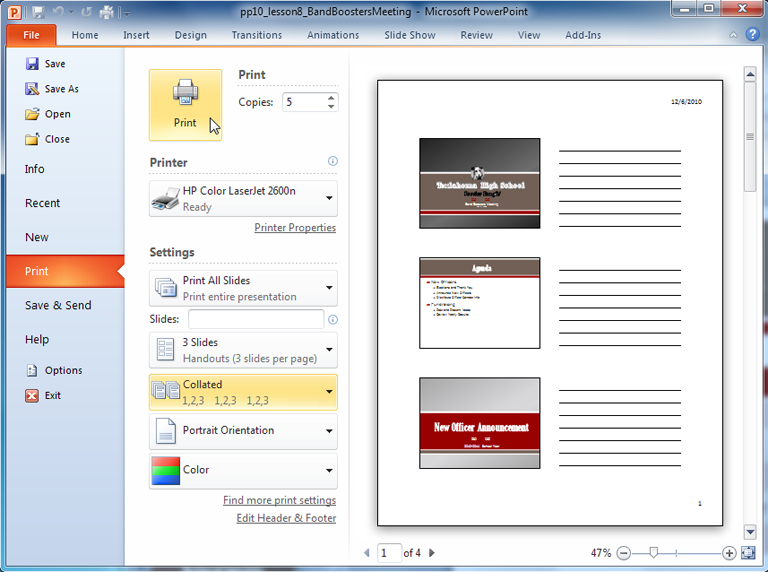
To view the Print pane:
- Click the File tab to go to Backstage view.
- Select Print. The Print pane appears, with the print settings on the left and the Preview on the right.
To print:
- Go to the Print pane.
- Determine and choose how you want the slides to appear on the page.
- If you only want to print certain slides, you can type a range of slides. Otherwise, select Print All Slides.
- Select the number of copies.
- Select a printer from the drop-down list.
- Click the Print button.
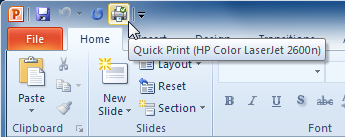
Quick Print
There may be times when you want to print something with a single click using Quick Print. This feature prints the document using the default settings and the default printer. In PowerPoint 2010, you’ll need to add it to the Quick Access toolbar in order to use it.
Quick Print always prints the entire presentation, so if you only want to print part of your presentation you’ll have to use the Print pane.
To access the Quick Print button:
- Click the drop-down arrow on the right side of the Quick Access toolbar.
- Select Quick Print if it is not already checked.

- To print, click the Quick Print command.