Inserting action buttons
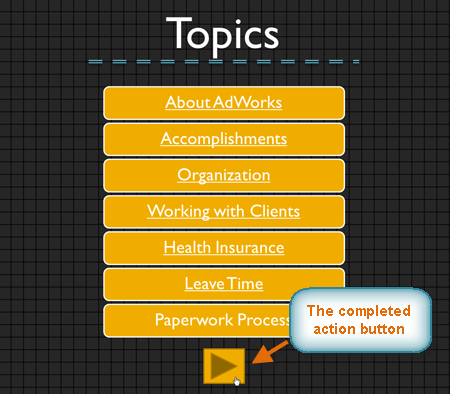
Another tool you can use to connect to a webpage, file, email address, or slide is called an action button. Action buttons are built-in button shapes you can add to a presentation and set to link to another slide, play a sound, or perform another action. When someone clicks or moves over the button, the selected action will occur. Action buttons can do many of the same things as hyperlinks. Their easy-to-understand style makes them especially useful for self-running presentations at booths and kiosks.
You can insert action buttons on one slide at a time, or you can insert an action button that will show up on every slide. The second option can be useful if you want every slide to link back to a specific slide, like the title page or table of contents.
To insert an action button on one slide:
- Click the Insert tab.
- Click the Shapes command in the Illustrations group. A drop-down menu will appear with the action buttons located at the bottom.
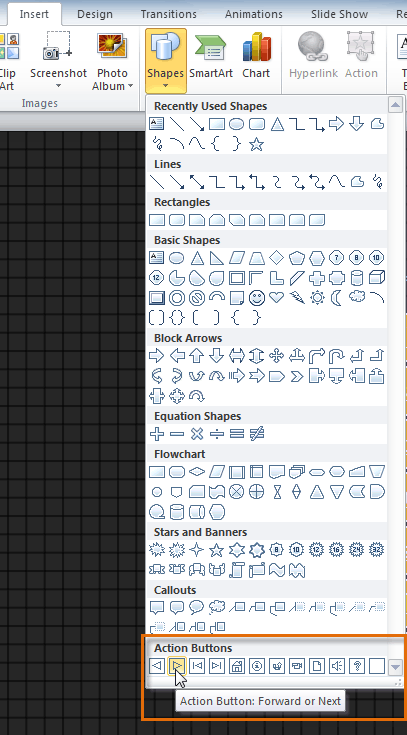
- Select the desired action button.
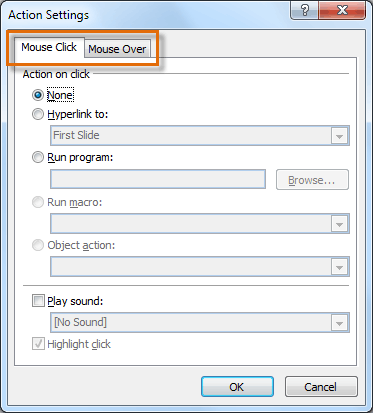
- Insert the button onto the slide by clicking the desired location. The Action Settings dialog box will appear.
- Select the Mouse Click or Mouse Over tab. Selecting the Mouse Click tab means the action button will perform its action only when clicked. Selecting the Mouse Over tab will make the action button perform its action when you move the mouse over it.
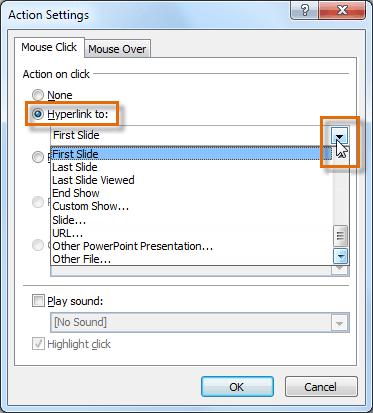
- In the Action on click section, select Hyperlink to:, then click the drop-down arrow and choose an option from the menu.
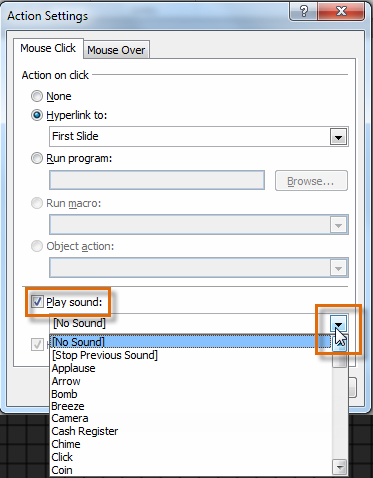
- Check the Play Sound box if you want a sound to play when the action button is clicked. Select a sound from the drop-down menu, or select Other sound to use a sound file on your computer.
- Click OK.
To insert an action button on all slides:
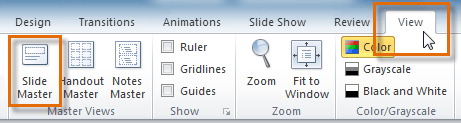
- Click the View tab.
- In the Master Views group, click the Slide Master command. A blank slide in the style of your presentation will appear. Don’t worry about changing anything else.
- Go to the Insert tab, and follow the instructions above to insert an action button.
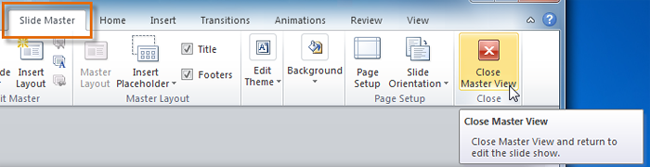
- Return to the Slide Master tab, then click Close Master View. The new action button will now be on every slide.
To edit, move, or delete an action button inserted this way, click the View tab, then Slide Master. Click Close Master View after making the desired changes.
To test an action button:
After you create an action button, it’s important to test it.
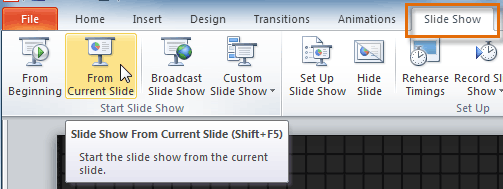
- Click the Slide Show tab.
- In the Start Slide Show group, click From Current Slide.
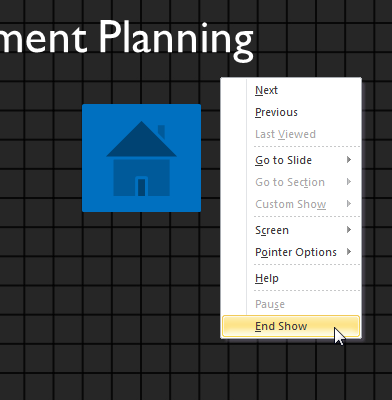
- Click your action button.
- After you have tested it, right-click anywhere on the screen and select End Show.
- If your action button did not work as you intended, follow the instructions below to edit it.
To edit an action button:
- Select the action button.
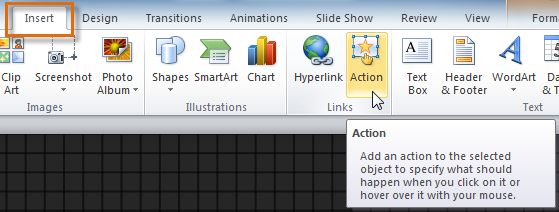
- Click the Insert tab.
- In the Links group, click the Action command. The Actions Settings dialog box will appear.
- Edit the action or hyperlink.
- Click OK.
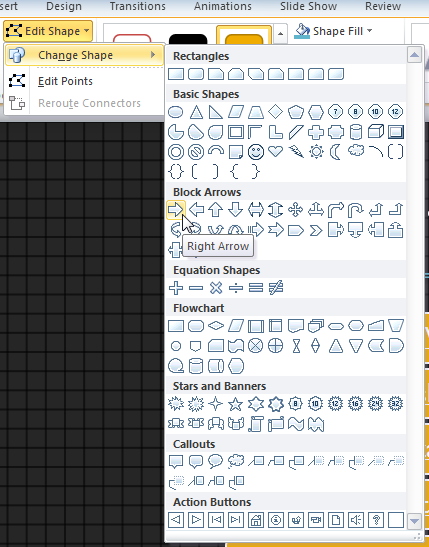
To change the appearance of an action button:
- Select the action button.
- Click the Drawing Tools Format tab.
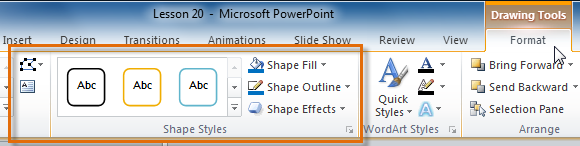
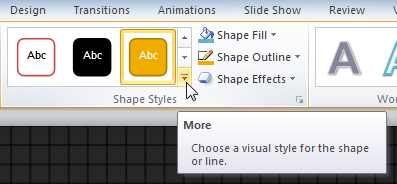
- To change the button style or color, use the tools in the Shape Styles group.
- To change the shape of the action button, click Edit Shape in the Insert Shapes group. Select a new shape from the drop-down menu.